Naught
[12] Conqueror
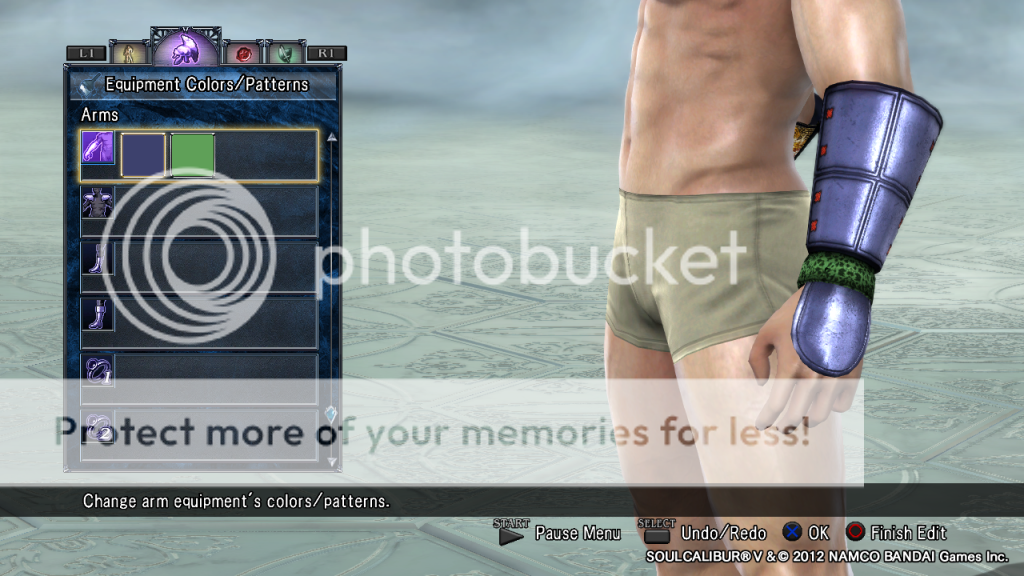
You are very much correct. Hopefully more people will be able to test this pattern on other items, and eventually we may have a full list to share! But not Le Bello. Le Bello is tired.
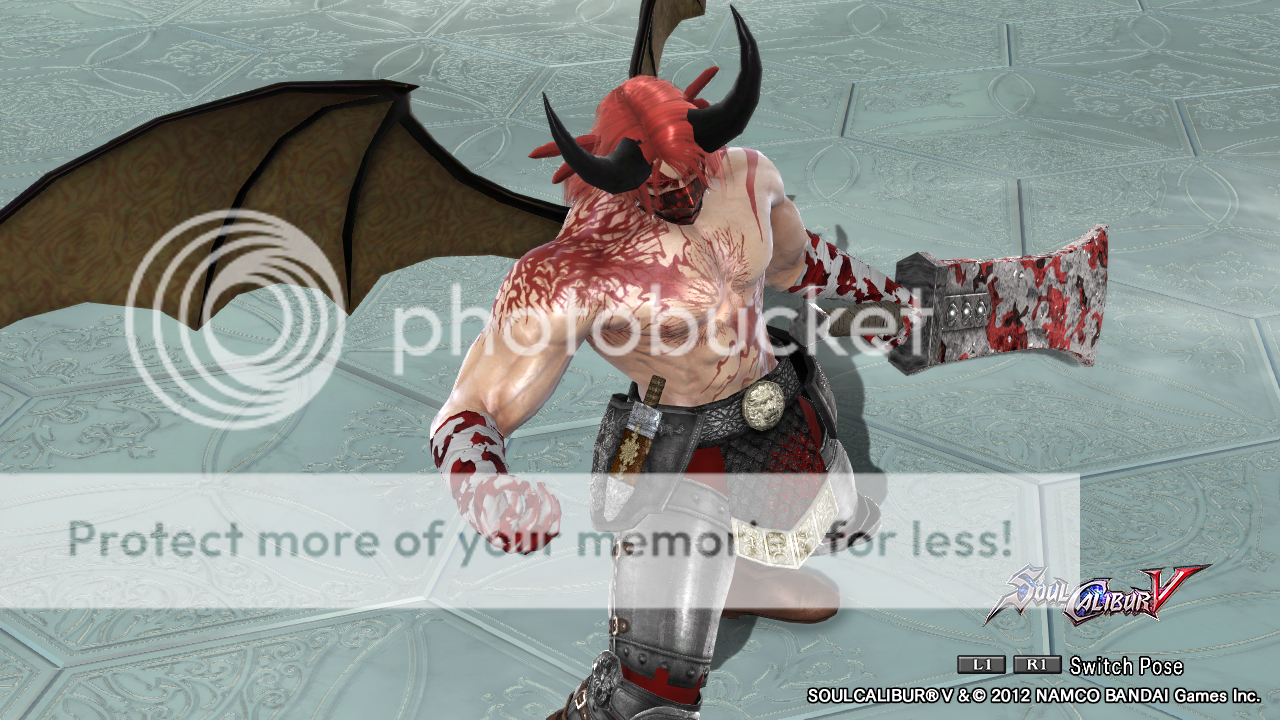
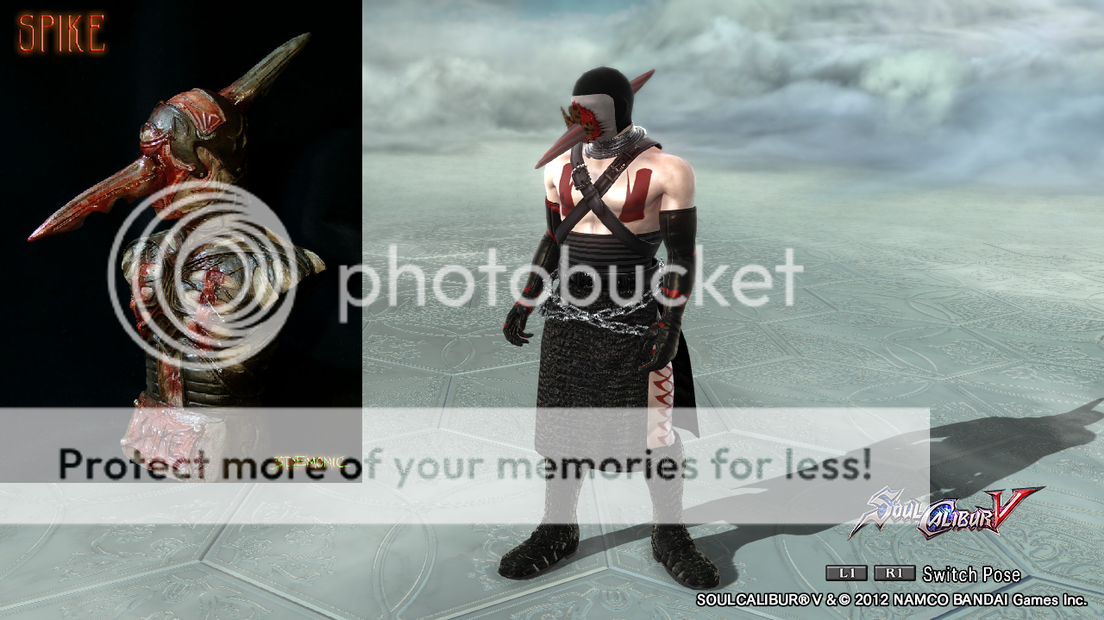
But would Le Bello like to see the results of my experimentation in CAS which have created the devilish secrets I provide for him and co? A taste for what is in Forgon's new thread.
--Forgon