General SCV CAS Discussion: Your Tips & Tricks

Gabedamien

I Want To Be Happy
Hi everyone. It’s great seeing CAS galleries and swapping ideas by way of example; however, I thought it might be convenient if people posted some of their go-to methods, tips, tricks, strategies, equipment combinations, favorite stickers, etc. in one thread. Maybe this way we’ll all learn a thing or two we wouldn’t have realized otherwise. I’ll start with just a few off the top of my head. And while I’m sure many of these will be well-known or obvious, it doesn’t hurt to put them out there, right?
Sticker #88 (the snow ink painting) is great for building up painterly effects, blood spatters, etc.​
The pocket sticker is metallic and bump-mapped, and can be used for trims.​
In “place by view” for the stickers, you can pan the sticker around by holding X (360) / Square (PS3) and tapping directional buttons. Makes “place by view” vastly more effective!​
In the photo shoot, you can zoom up on a face, limb, whatever by using R1/L1 to shrink/grow the framelines. And of course, you can move the frame lines with X/Square+directions.​
When placing stickers, I’ll often start by placing a sticker in slot 2 instead of slot 1. That way, if I later want to add a sticker beneath the original, I can use slot 1 without having to redo the original’s placement/color.​
Max stickers is 8. Max characters in a name is 12.​
The Pareo skirt equipment makes a half-decent open kimono bottom.​
For female characters, equipping the “thigh high” ankle equipment over a unitard undergarment (or other undergarment that normally covers the thighs) will expose a wide strip of skin around each upper thigh.​
Nominal black (lower-left corner) is not as dark as the darkest colors with low saturation. If for some reason you need as dark a black as possible, the bottom blue with 0 saturation is arguably your best bet. Conversely, pure white (upper-left corner) is the brightest white.​
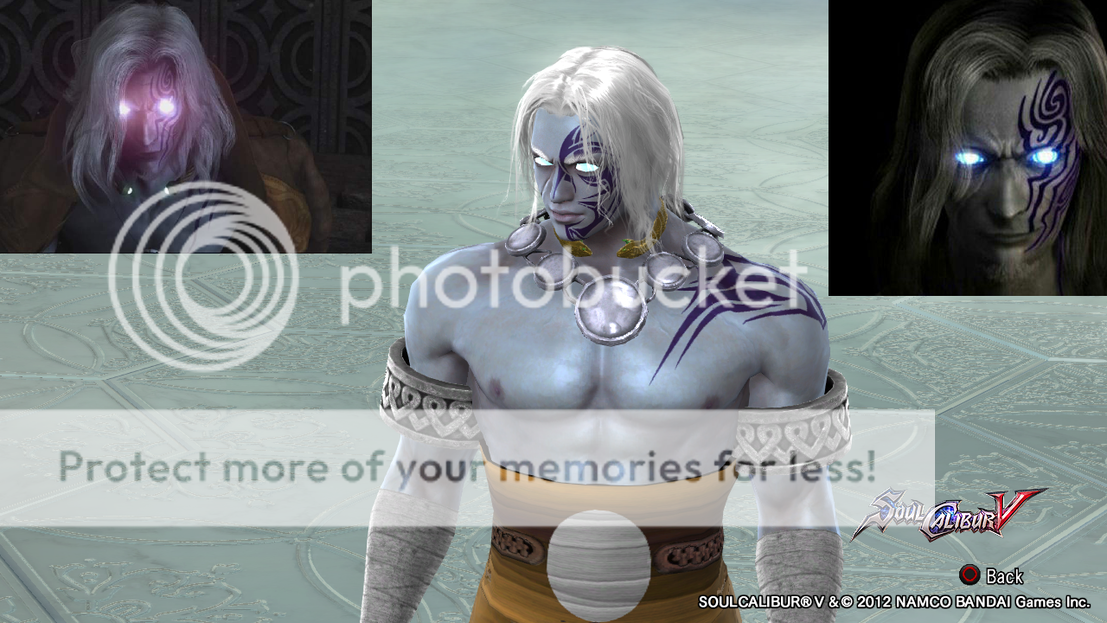
Face paint 41 has freckles! You can make the accompanying eyeliner and lipstick invisible just by matching the skin color.​
That’s all I can think of for the moment.
 
Good idea! I don't think there's much more to add though lol.

Although it's tricky to work with, the "feathers of strength" accessory is one of the most versatile items we have. You can merge them to make face plates, visors, shoulder guards, belt buckles, and more. You have almost total control of this item.

Need more hair? Use a raccoon tail! This is the go-to item for epic beards and sideburns.

And of course, always check to see if you can pattern your characters' weapon.
 
When creating costumes for female characters, you often find that the outfits aren't very flattering to their body shapes. Some belts and body armor can make costumes much slimmer.

My favorite is the archery chest plate, as it goes with pretty much anything and it's easy to recolor.
 
If you want a sleeveless gi for a male (like, say, Ryu's shirt), just combine the spyrobe with some hip equipment, like leather belt or training belt (Warrior's Sash won't work though). The lower cloth of the spyrobe will disappear, leaving you with only the sleeveless shirt part of the outfit.
 
Another tip: Some armor bright more than others. If you want to make a full armored guy, mix the armors with same bright. (They should fix this btw, and let us change the bright on armor, and on clothes, so we dont need to have silk stuff if we dont feel to)
 
-If you need to change one eye, inserting an apple or crescent moon may be the key. If you are looking for bright glowing eyes, use Halos. Example:
soulcalibur41.png

Folklore_Keats4.png

-Horns are extremely versatile, they can be used to create extra hair such as bangs or spikes, fangs/teeth, facial features, claws, and more.

-When placing a zipper sticker "by axis," if you want it to remain looking like a normal zipper (long and skinny) rather than how this placement option looks by default (scrunched up), hit "Reset" THEN place it by axis. This is a good way to make straps and belts as well.**Keep in mind it will scrunch back up if you try to edit the sticker after exiting the edit screen.

-Halos can also be used as bracelets, jewelry, etc. If you want them to glow, use normal coloring, but if you want them to be a more realistic/dull color (not glowing, as if they are an actual piece of jewelry), choose the color you want then darken it until you reach of good point.

-When your armor gets broken, Undergarments, Pants, and Socks will remain.

-Patterns will remain and NOT CHANGE when you use "color all"

-Metallic equipment such as armor will have a sheen/glow of the color you set it. However, if you place a pattern on the item, the sheen will revert to the default color of that particular item. To fix this, use the "Color ALL parts" option and the pattern colors will stay while forcing the metallic parts to shine whatever color you chose with "color all." Example:
I placed a pattern on almost every single part of this character so I could use "color all" to give him a uniform shine. If I didn't, the legs would look gold, arms look silver, etc. due to the default coloring of the part.
Fulgore5.png

Fulgore6.png


The only difference between these two photos is the color of the mummy wraps and the "color all," one being gray and one being turquoise
Using this method, you can have your armor stay one color and shine a different color (in the example case, my patterns are all gray, but the armor SHINES turquoise)
 
Another tip: Some armor bright more than others. If you want to make a full armored guy, mix the armors with same bright. (They should fix this btw, and let us change the bright on armor, and on clothes, so we dont need to have silk stuff if we dont feel to)
I think I addressed this in my last tip, if you're saying what I think you're saying.
 
Some great stuff, especially your post LordDraco (I didn’t know half of that!). Thanks for contributions guys!
is this really necessary
No. Is 8WR necessary? No. Are video games necessary? No.

Seriously, why ask this? Either you learn something you didn’t know, or you move on. I for one have already discovered at least a couple tricks of which I was previously unaware (e.g. resetting metal reflectance color when patterns are applied) so I’m not all that broken up if you don’t find this thread valuable.

And FWIW I will be willing to bet money that there is at least one trick already posted in this thread you didn’t know.
 
One of Pocky Yoshi's favorite things to do is play with the colors to match the personality. But make sure no color is hogging all the attention. Make sure they all compliment each other.

Like utilize soft colors to emphasize cuteness and grace. Something like tea green, pink, light blue, cream, etc. Here's an example custom of mine.
s3-jpg.14812

But let's say you want a proud and chivalrous person. Utilize colors that scream "I have pride to stop evil-doers"! Gold, Red, Blue, Silver, etc are some good bets.

c6-jpg.14795

In general, you can try using black(a devil color to Pocky Yoshi that he tries to use sparingly) to be cute or proud for instance. But black imho stands for power, corruption, absolute badass, and being sexy. And something like black enhances those traits and not the pure white of a holy knight or the cuteness that is pink on a cheerful martial artist. Instead, it feels like a badass holy knight and not the awesome holy knight that is chivalrous imho.


Another thing is sometimes too much patterns is never a great thing. Unless it adds to it, keep it. But sometimes if you're putting a cute teddy bear on a badass knight, that would make it quirky. Sure it's your knight, but now it's herp derp like this guy
Pocky Yoshi: Pocky Yoshi is not herp derp!!
ARTS(anyone reads this says): Yes you are with girly colors on awesome ninja equipment.
Pocky Yoshi: *pouts*
py1-jpg.14846


But if you put like a phoenix to compliment the amazing red and gold armor, then you're matching the theme.

Basically, make sure your colors and patterns match the theme you're going for. Also do some trial and errors haha.

Done rambling.
 
Direct from Swords, Shields, and Sparkly Things:

Fashion Tactic#1: Use patterns Ethnic 9 and Ethnic 10 on metallic equipment along with brownish red tones to achieve a rusty or well-worn look.

Fashion Tactic#2: For those who still have the School Girl itch, use items Cotton Shirt, Pleated Skirt, Slacks, Chef's Tie, and Leather Shoes to achieve a similar effect.

Fashion Tactic#3: Patterns, colors, and stickers are your best friends and also your worst enemies. Take in mind that all these should be used sparingly and in correct coordination to achieve balance on a character's design- patterns only major outfit pieces (like the torso), colors (usually three-four at a time, no less no more) being complimentary or supplementary (not too bright or too dark either), and stickers being used either to achieve a clothing effect (like wear-and-tear), or stylize dead space (a detailed flame pattern running down the leg of a simple pair of trousers).
 
Some great stuff, especially your post LordDraco (I didn’t know half of that!). Thanks for contributions guys!

No. Is 8WR necessary? No. Are video games necessary? No.

Seriously, why ask this? Either you learn something you didn’t know, or you move on. I for one have already discovered at least a couple tricks of which I was previously unaware (e.g. resetting metal reflectance color when patterns are applied) so I’m not all that broken up if you don’t find this thread valuable.

And FWIW I will be willing to bet money that there is at least one trick already posted in this thread you didn’t know.
dude get over it, my post has already been dealt with
 
Back